Create Before and After Photos With Paint
How to create before and after photos with paint has been on my to-do list for quite awhile. I finally had the time to put it all together. I had a problem a few months past where I needed to combine a couple of photos for a before and after photo for another post. I used an online site for the one photo but because the website was from a country that does not have a good reputation for how they handle intellectual property that was my only time using it.
Related Article: Combine Photos for Before and After Photo
This time I wanted to see if Paint would do a combining process. Yes, you read this right. Paint the program that comes with windows. The one program that is available to everyone with the Windows operating system is the program I used.

Here’s how to do it
Manipulate the photos as needed(cropping, expansion, inserting text) before attempting the combining process. One thing that will make the combining process easier is that both the finished photos be the same size. So if you’re cropping any photos make sure that you save them both to the same size. This will make the end combined product easier.
Combining the photos
- Use the file explorer to locate your photos.
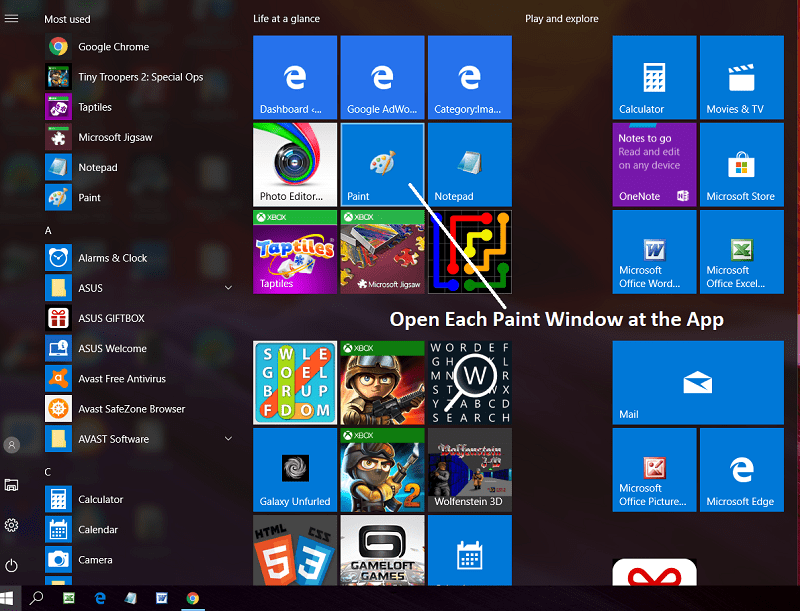
- Right-click to select a photo and use the “open with” option select paint.

- Select the second photo and again open it with the paint option.
- Resize each photo to the same width in pixels(for example 800 pixels).

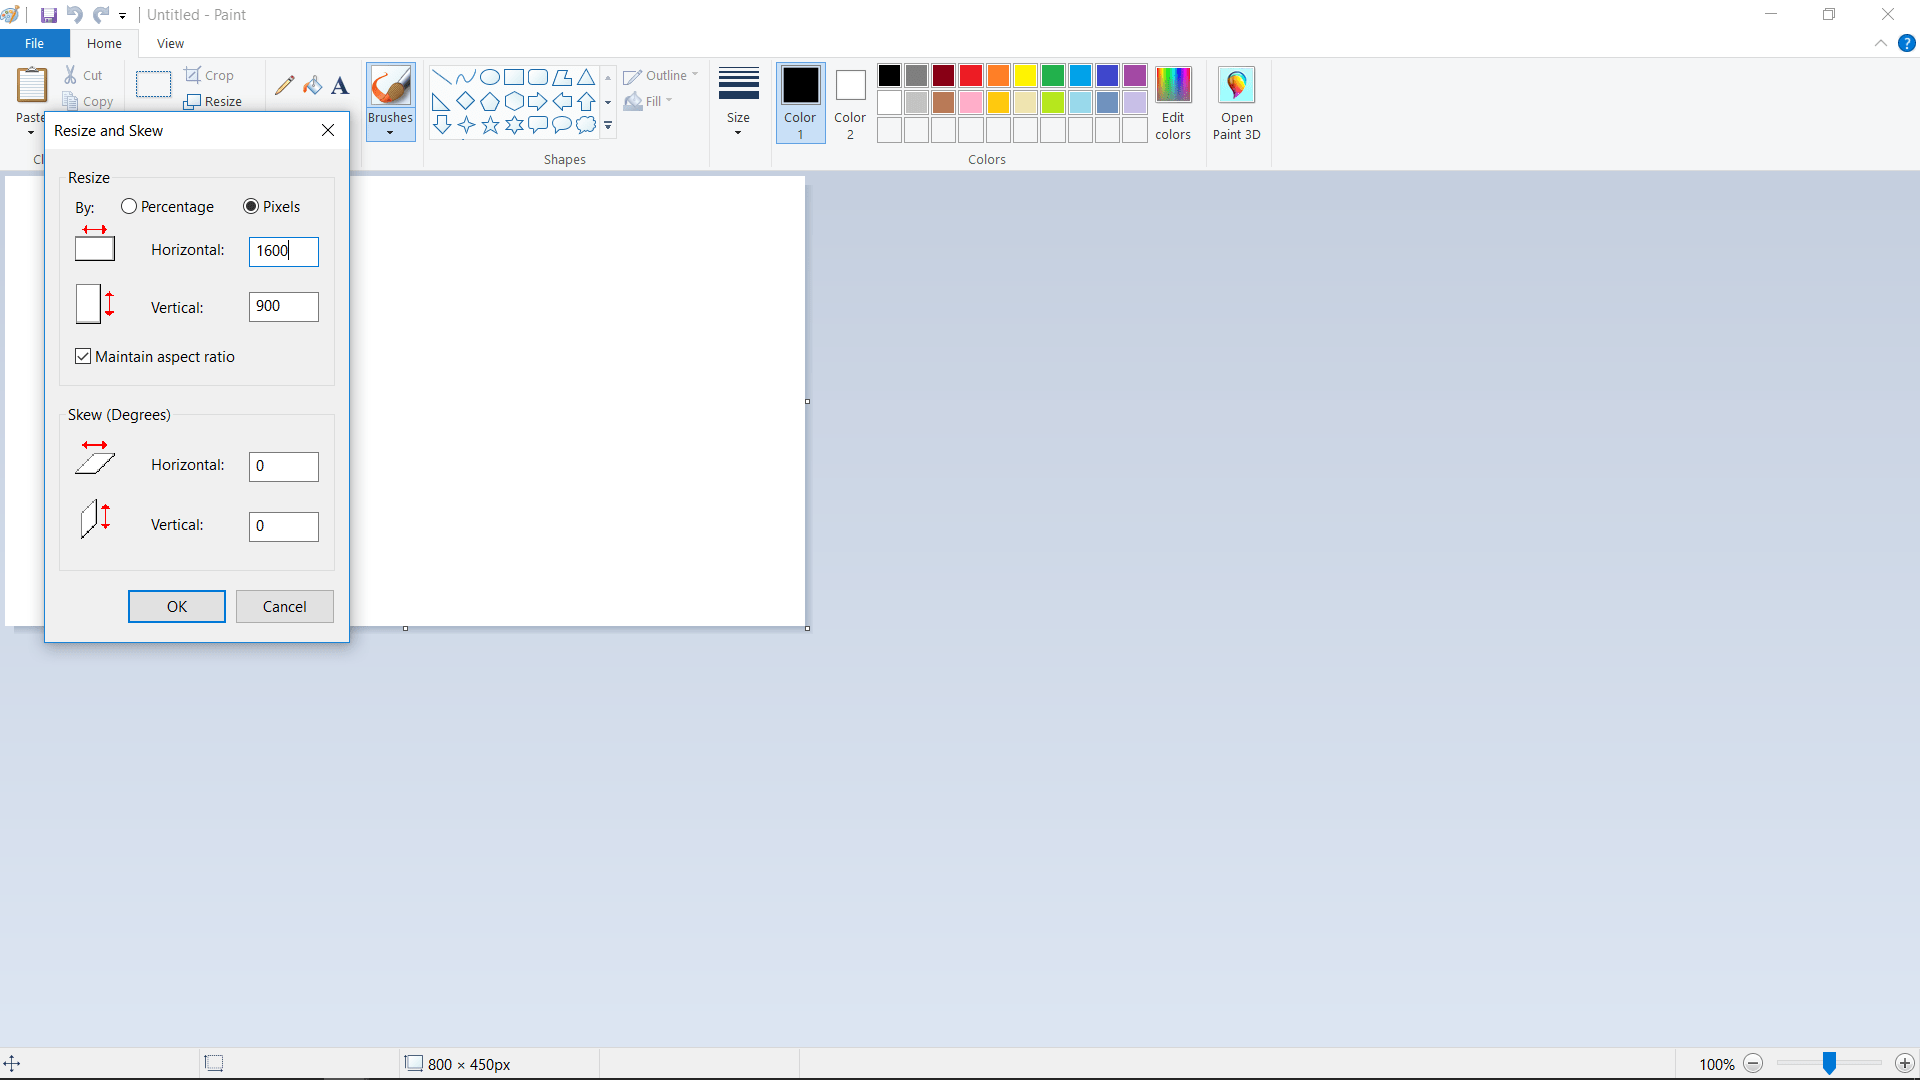
- For the third paint window, go to the paint app icon and open the third window(this one’s blank) and resize it to double the width of one of your photos(1600 pixels).


- At this point, you should have three paint windows open. One blank paint window and sized at twice the width of one of the two photos you wish to combine. Also, you will have the two windows open for the photos you wish to combine.

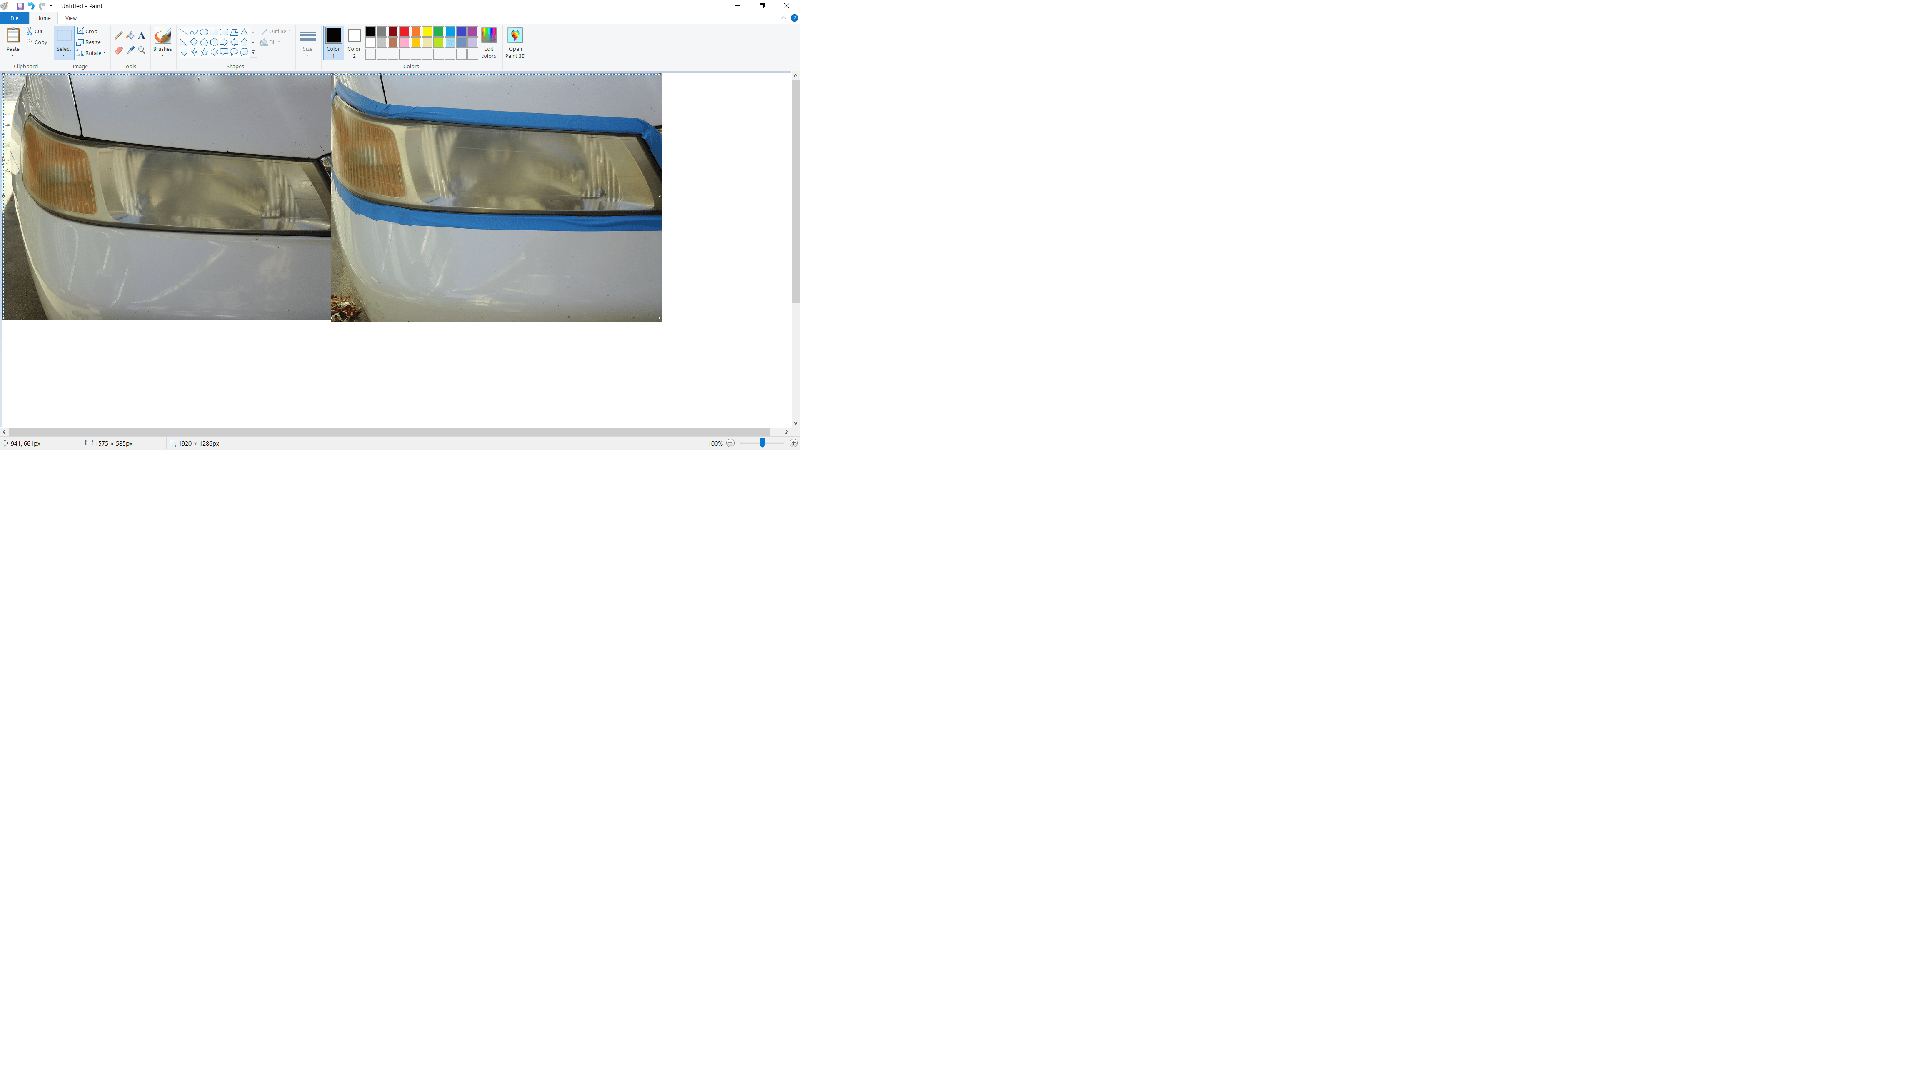
- Go to your first photo and use the select feature to select the entire photo and copy it(Control+C).
- Paste it into the 3rd window and move it into place at the left side of the field.

- Repeat for the second photo. Select copy and paste. Move into position on the right side of the 3rd window. Don’t worry if the alignment of the two photos is not perfect.

- Use the select tool and select then crop your combined photos.

- Resize the new photo and save it in your favorite format.
- You’ve done it. You should have your combined photo sized and saved in your favorite format ready for your current project.
 Conclusion

What I like about this process is that it is secure. My photos do not leave my computer for the combining process. It takes some eleven steps to get the completed combined photo so it is a little labor intensive. But I’d rather have secure photos over the pain of DIY photo combining.
Related Article: Combine Photos for Before and After Photo
(Mybusyretiredlife.com All Rights Reserved)
(Mybusyretiredlife.com All Rights Reserved)
(Mybusyretiredlife.com All Rights Reserved)
(Mybusyretiredlife.com All Rights Reserved)
(Mybusyretiredlife.com All Rights Reserved)
(Mybusyretiredlife.com All Rights Reserved)
(Mybusyretiredlife.com All Rights Reserved)
(Mybusyretiredlife.com All Rights Reserved)
(Mybusyretiredlife.com All Rights Reserved)
(Mybusyretiredlife.com All Rights Reserved)
Liked This Post? You May Like These:
