DIY Custom Pet Food Containers
I needed some custom DIY pet food containers for a limited space recently. We have a bookcase cabinet in our laundry room that we use to store our soaps and such. But the lowest shelf of the cabinet did not get much use. At the same time our dog and cat food bags were always sitting in the aisle. So it got me to thinking about that shelf and possibly getting some use out of it and getting the pet food bags out of the aisle at the same time.
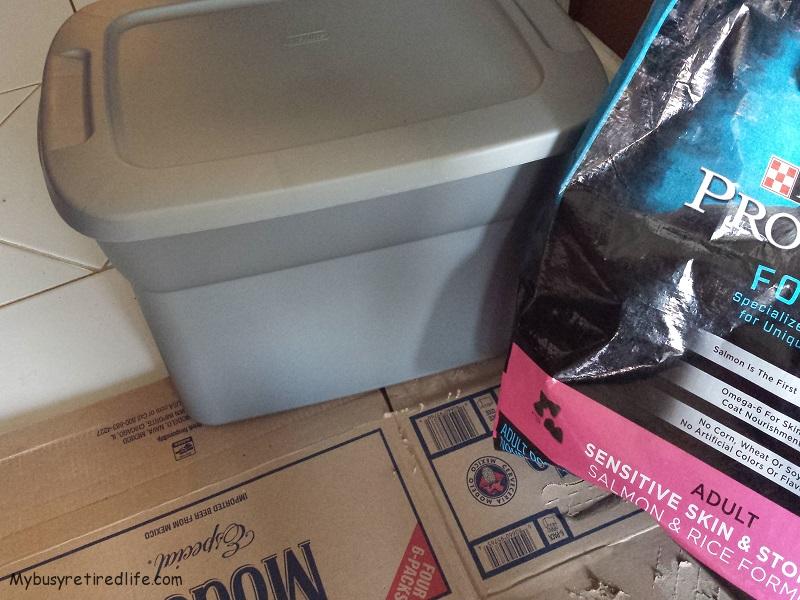 Bin, Cardboard and Pet Food Bag for DIY Pet Food Containers
Now it would be super simple to stick some bins on the shelf and call it good. That had been my original idea. But then in order to dispense the pet food the bin needs to be removed from the shelf to remove the lid. So I began thinking that my new bins would need hinges and extend beyond the cabinet’s shelf. This way the bins stay in place and yet serve the food when needed.
The second criteria for this project would be that the bins had to be as large as possible to fill the entire available space. This requirement is because we buy our pet’s food in the biggest possible bags(this reduces the number of trips to the store) so the bins needed to be big.
Looking for a bin
Looking for a bin became the first thing on the list. I wanted the bins to be as large as possible to occupy the entire shelf width. So I got my trusty tape measure out and measured the inside width of the cabinet and the inside dimension from the lowest shelf to the bottom of the next shelf. So I now had my dimensions and it was time to go shopping.
We went to a local big box store and found a bin size that seems to have been made for the cabinet. The width and height were perfect almost matching my cabinets dimensions. The depth of the bins was larger than the depth of the cabinet by at least eight inches. We purchased the bins and brought them home.
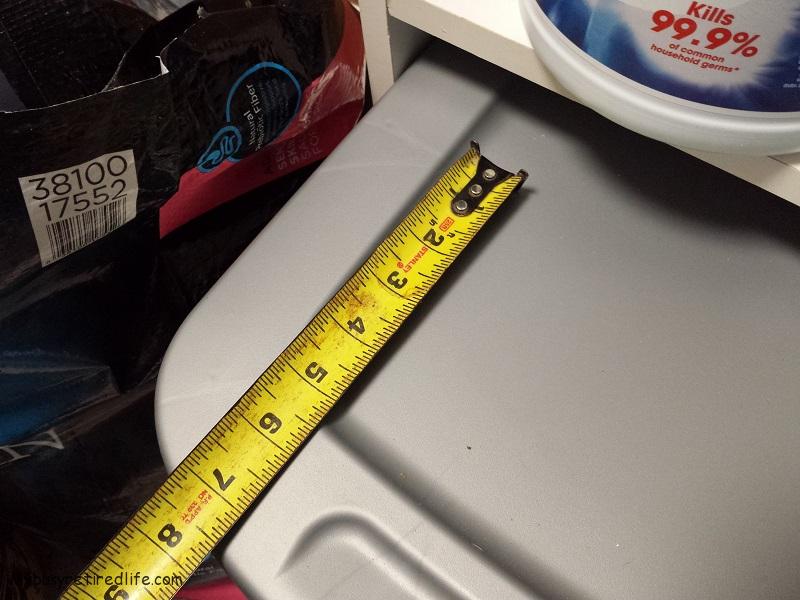 Bin Extends Beyond Cabinet
I need a hinge
I was looking at the depth of the bins. The depth allowed the bins to sit fully on the shelf and still have enough bin exposed to allow a hinge for opening the container to remove the pet food without having to remove it from the shelf. The hinge would be located close to the shelf edge. This would give the biggest opening for dispensing the pet food.
But what kind of hinge do I need? Most bins are made of thin plastic and any type of hinge is usually pretty small and that would put all the strain of the movement/weight and drilled holes over a very small area of the plastic. I envisioned cracks developing quickly over time. I needed a large area on both sides of the hinge to stiffen/strengthen the bin material. Can you say custom hinges?
So I need large surface area hinges. I got to thinking about brass, steel, wood hinges and none of them are made in custom sizes. Well, wood might work but it would add more height to the bins and then they would not fit. So I need some kind of material that is strong yet very thin.
I need strong cardboard
It got me to thinking about cardboard. Do you know that there are various kinds of cardboard boxes with different strengths built into the cardboard by the manufacturer of the container? Well, it was one of those useless facts that I had picked up that made this the ideal material. I could get strong hinges that should last a very long time if I could get the right cardboard box.
The strength of a corrugated box starts with its material. A corrugated sheet consists of two major components – linerboard and medium. Linerboard is the flat paper that covers both sides of the sheet and the medium is the “fluted” or arched paper found between both liners. The flute, when anchored to the linerboards with a starched-based adhesive, resists bending and pressure from all directions. When placed vertically on its ends, the flutes form vertical columns, capable of supporting considerable amounts of weight.
The Manufacturer’s Certification Stamp
My wife had been doing some spring cleaning and had boxes for the things that were going to the “GoodWill”. I looked at the boxes she had available and there was one with the proper stiffness/strength. It was a single wall box with a burst strength of 200 lbs per square inch. Also, the scorelines for the flaps were in good shape.
How do you know what strength a cardboard box is just by looking? Well, there’s a seal(called a Manufacturer’s Certification Stamp) on almost every cardboard box(usually on the bottom of the box) that lets you know what that strength is.
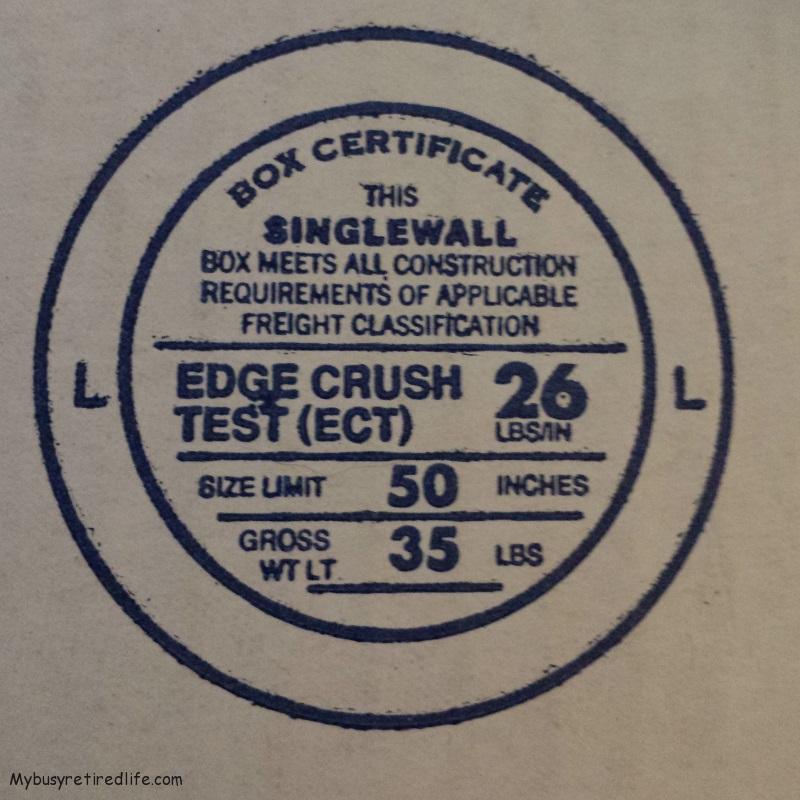 Manufacturer’s Certification Stamp
So I had my material for the hinge and now it was time to size it for the bins. The lid is not flat for the entire width. I sized the hinge to the flat part of the lid. This turned out to be about eight inches in width and eight inches in length(to spread out the drilled holes and strengthen the plastic of the bin over a larger area). I used part of the flaps of the box since they already had scorelines and made a perfect hinge for my project.
A list of terms used for cardboard boxes: Glossary of Corrugated Material Terms
 Bin Hinge Parts Unglued
Forming the hinges
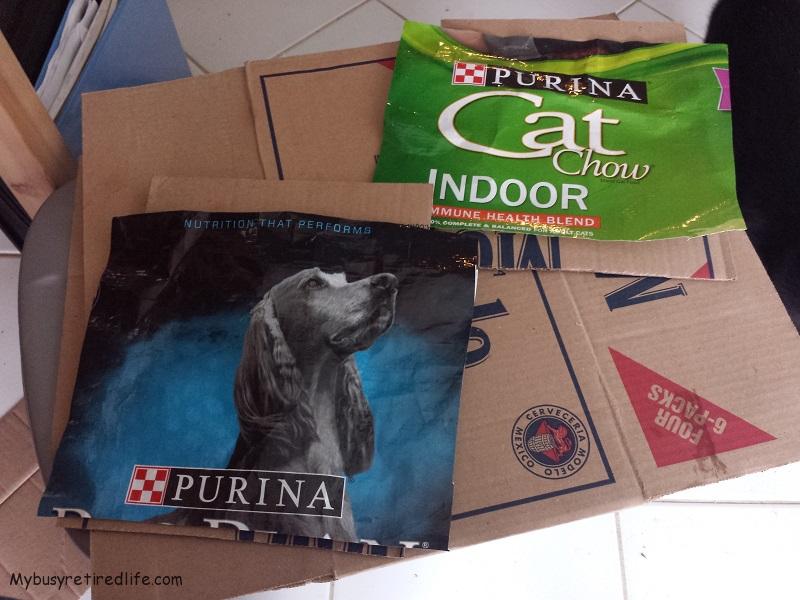
I hand cut the cardboard pieces leaving some extra material on the pieces. Then because I didn’t want to have an ugly cardboard box logo I thought about a cover that could withstand abuse and provide additional protection/support for the cardboard.
Well, it seems that the bags that the pet food comes in are largely plastic and very tough material. Also if I used the plastic from the pet food bags I could make custom hinges that would let you know at a glance what’s in the container.
A little contact cement applied to the cardboard and the plastic bag and I had an additional wear layer added to the hinge in no time at all. After the glue dried I used scissors and trimmed the plastic and cardboard to their final dimensions.
How I put it together
I decided to use pop rivets to attach the hinges to the bin lids. I needed to sandwich the hinge and the lid between the head of the rivet and a washer to keep the rivets from working out of the plastic lid or cardboard hinge. After all, it is only cardboard and thin plastic. I used 3/16″ pop rivets because that is the smallest washer I could get for this project.
I also wanted the lid to be able to snap shut on the bin just the same as if it were in one piece. This decision required the method I have outlined below to have the hinged lid meet my final criteria.
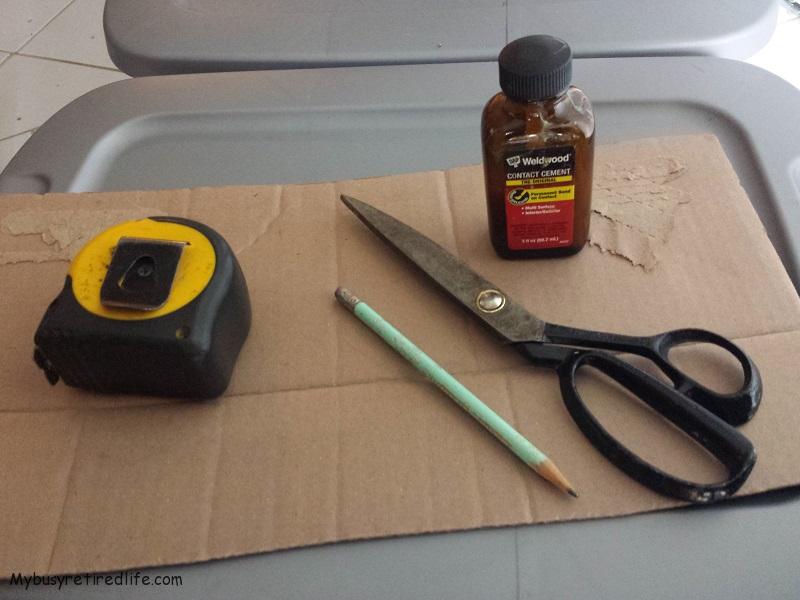 Tape Measure, pencil, Scissors and Cardboard Flap to use as a Straight Edge
Tools required
- scissors
- electric drill
- drill bit to match the size of the pop rivets
- pencil/pen/marker
- straight edge ruler
- oscillating multi-tool with a wood cutting blade(optional)
- pop rivet gun
- center punch
- claw hammer
Bin, Cardboard and Pet Food Bag for DIY Pet Food Containers
Materials needed
- cardboard box with a 200 burst rate
- empty pet food bag(a large bag greater than 12lbs)
- Contact cement
- 3/16″ pop rivets regular length or medium length
- 3/16″ washers
Steps required to complete this project
- Use a straight edge ruler to draw lines on the lid where the lid will hinge.
- The pet food plastic covered hinge will be located only on the flat surface of the lid,
- Cut the hinge(I used scissors) to the proper width required by the lid.
- Punch all holes for the cardboard hinge using a center punch and hammer(no measurement is needed just make sure the holes are not to close to the edge of the cardboard).
- Line up the hinge(crease of the flap) on the line drawn previously on the lid.
- With the lid backed by a wooden block place the hinge on the lid and drill out one of the corner holes.
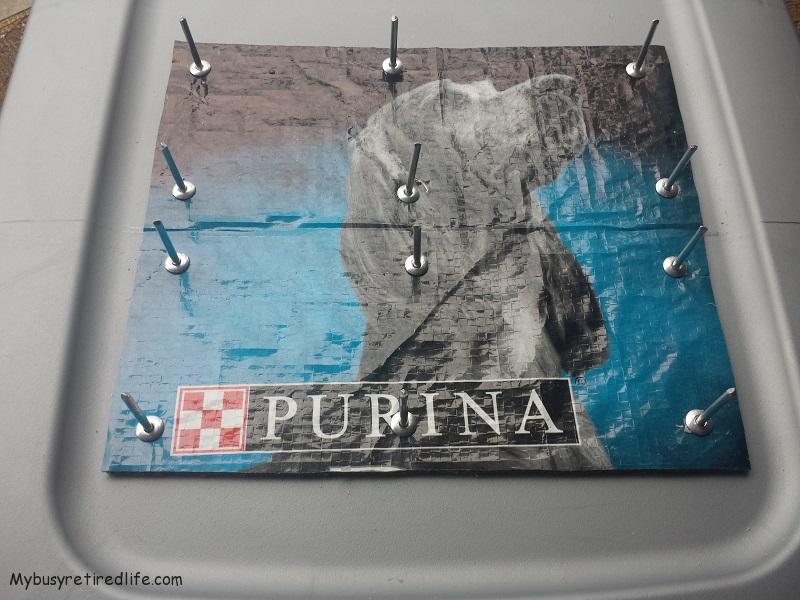 Uncut Lid with Hinge Drilled Thru All Rivet Locations
- Manually insert a pop rivet into the hole(to hold the hinge and lid in place) but do not rivet it into place just yet.
- Verify that the hinge lines up to the line and drill out the second corner.
- Manually insert the second pop rivet.
- Repeat steps 6 thru 9 for the remaining corners.
- Drill all the corners and hold the hinge in place with rivets. Now drill the other holes in the hinge.
- Remove all the pop rivets and the hinge.
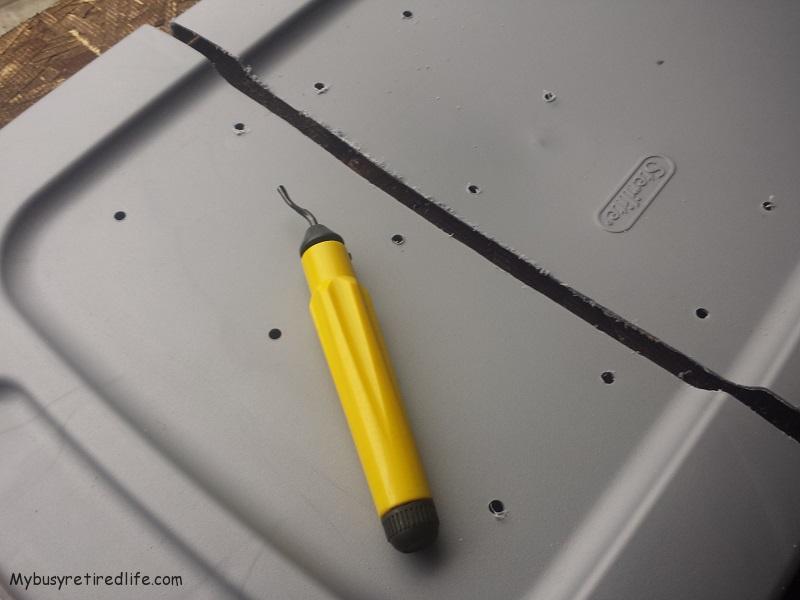 Lid Predrilled and Cut Needs to be Deburred
- Cut the lid(I used an Oscillating Multi-Tool with a wood cutting blade) along the drawn line and deburr the cut edges.
- Reassemble the hinge and lid parts.
- Place all the pop rivets into the holes on the lid and hinge.
- Put a washer on one of the corner pop rivets on the bottom of the lid.
- Firmly push the washer against the lid.
 Pop Rivet Details Pop Rvet and Backup Washers
- Using the pop rivet gun tighten until the pop rivet gun breaks the pop rivet mandrel and the corner is firmly attached.
- Repeat steps 16 thru 18 for all the corners.
- Then repeat steps 16 thru 18 for the remaining holes.
Final results
The hinged lid has met all my criteria and exceeded my expectations. The lid is “opened” without removing the bin from the cabinet to dispense the pet food. The hinge action is very smooth and provides a visual aid on which bin holds the kind of food I’m looking for. Also because the hinge is from stiff cardboard. It is self-closing(something I wasn’t expecting but like). Also, the lid when pushed snaps into locked position on the bin just the same as an original uncut lid.
 Finished DIY Pet Food Containers
Related Articles: More articles on Pet Care
(Mybusyretiredlife.com All Rights Reserved)
(Mybusyretiredlife.com All Rights Reserved)
(Mybusyretiredlife.com All Rights Reserved)
(Mybusyretiredlife.com All Rights Reserved)
(Mybusyretiredlife.com All Rights Reserved)
(Mybusyretiredlife.com All Rights Reserved)
(Mybusyretiredlife.com All Rights Reserved)
(Mybusyretiredlife.com All Rights Reserved)
(Mybusyretiredlife.com All Rights Reserved)
(Mybusyretiredlife.com All Rights Reserved)
