DIY drip irrigation staples

DIY drip irrigation staples are not that hard to make. In fact, I’ve made some for pots. It seems that the hose doesn’t like to stay in the pot once it is full of water and the weight sort of drags it out of the pot.
I’ve made two different types of “staples” both do the same thing. One design is meant to stretch materials and is an unconventional design and does a very good job holding the drip line in place. The other is a conventional staple design. It also does well at holding the drip line in place. Both designs are designed to last a long time in a moist environment.
What did I use?

Heavy Duty PVC Coated Garden Wire at – Amazon.com
![]() Coated garden wire. You can get a lot out of a roll of wire. I don’t like to buy things that have only one use. If I bought the premade “staples” this part would be used for one thing. This part will not be used again until a failure happens.
Coated garden wire. You can get a lot out of a roll of wire. I don’t like to buy things that have only one use. If I bought the premade “staples” this part would be used for one thing. This part will not be used again until a failure happens.
That’s not for me. A roll of wire will allow me to create the drip irrigation staples. Then I can also use it to hold my tomato fence to its stakes and so on. Multi-use allows the best use of my money.
Using a single tool for one staple design requires a pair of side cutters(diagonal cutting pliers). I need to say this about this kind of tool. If you haven’t bought this tool before buy the best that you can afford. I say this because over the years I have come to the realization that cheap metal cutting tools will not last. I have cheap tools and good name brand tools and any of my tools that cut metal are name brand tools. Ok, I’ll get off my soapbox.
Making the staples
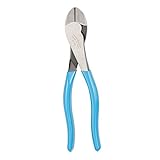
Channellock 338 8-Inch Diagonal Cutting Plier at – Amazon.com
Making this staple is not that hard. Side cutters will do the job.![]()
- Measure out the length of wire and cut it with the side cutters.
- Place the side cutters jaws on the wire at mid-length but do not cut.
- Bend the wire over the side cutters to form the staple. Grab the wire at different locations on the cutting jaws to get different staple widths(closer to the hinge point the wider the staple).
- Ok, you’re done.

Curved Jaw Locking Pliers Set at – Amazon.com
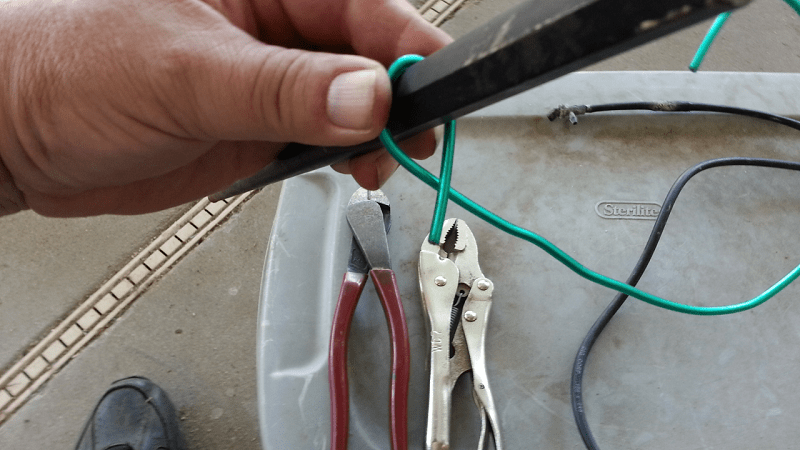
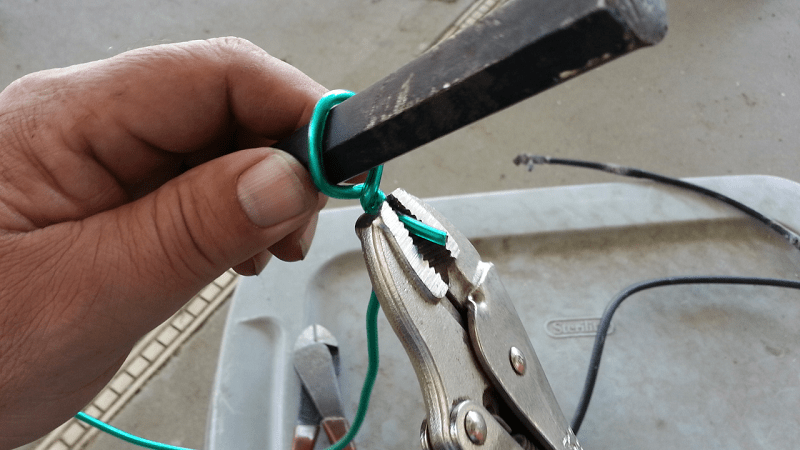
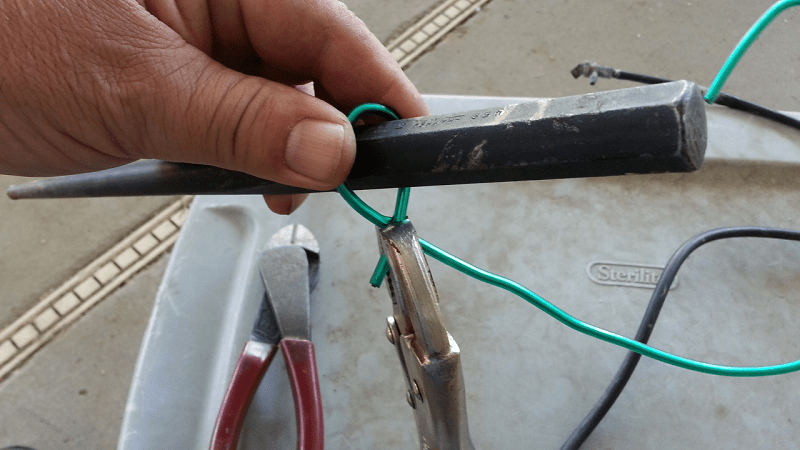
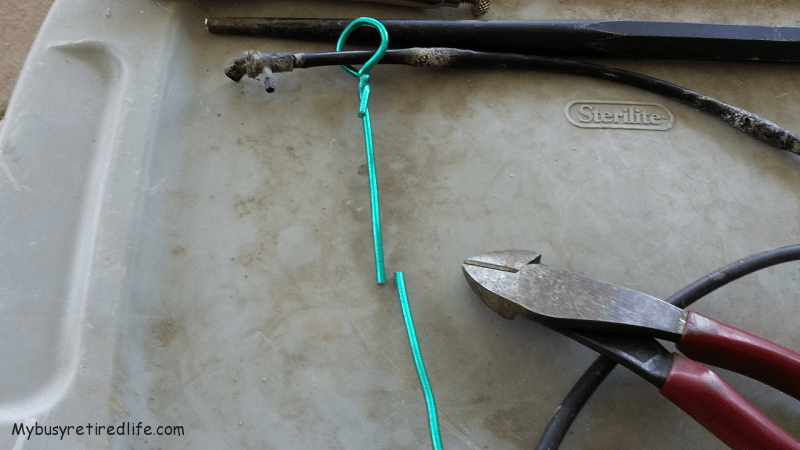
Making the other type of “staple” is a little different. This type will not have two legs but only one. This “staple” will require three tools. Side cutters, locking jaw pliers and a large drill bit or punch(must be larger than the drip water line).![]()
- Measure out 8″ of wire and cut with the side cutters.
- Using your fingers 2″ from the end bend the wire around punch until it crosses the wire.
- Use the locking jaw pliers to lock onto the crossed wire and give it a gentle twist to form a circle.(see drawing below)
- Remove the punch from the formed circle.
- Run the drip water line through the circle and push the “staple” into the pot’s soil.


Related Articles: More Articles about Drip Irrigation
(Mybusyretiredlife.com All Rights Reserved)
(Mybusyretiredlife.com All Rights Reserved)
(Mybusyretiredlife.com All Rights Reserved)
(Mybusyretiredlife.com All Rights Reserved)
Liked This Post? You May Like These:
